
The magic of aluminum etching
Aluminum etching with copper sulphate is a safer, less toxic, cheap and simple kind of electro-chemical metal etching. After years of working with copper and zinc, I’ve switched to aluminum as my preferred etching method. Not just because it is less toxic than common acids, but also because it is a lot of fun to mess around with – if you enjoy working quick and dirty as much as I do (but also if you don’t), this method is for you!
I was introduced to this technique years ago by a printmaker who I met in an artist residency Spain and who had learnt it in a printmaking studio in Chefchaouen, Morocco and since then I’ve experimented a lot with this technique.
I frequently get asked about this fascinating etching method which unfortunately is not widely known so I decided to write down my step by step working process with aluminum.
You can find more in-depth resources about how this magic works at the bottom of this page.
I hope you enjoy aluminum etching as much as I do!
The benefits of aluminum etching:
– Less toxic than acids (but still not non-toxic!)
– Much cheaper than other metals
– resin-free aquatint (aluminum is self-aquatinting)
– you can easily cut your plates into shapes with scissors and cutters
– no filing and covering of the borders
– no covering of the back
– no endless polishing
– no dirty edges
Aluminum etching step by step:
Preparing the mordant:
100g copper sulphate (fine grain works better)
100g salt (fine grain works better here as well)
> mix it in a basin
add 1/2 liter of hot water
and then 1/2 liter of lukewarm water
When the copper sulphate and salt has dissolved and the solution has cooled down a bit, it is ready to etch!
Copper sulphate is toxic in large quantities so protect your hands with gloves and wear a mask (FFP3) and protect your eyes when handling the beautiful blue crystals.
If the solution is still hot, the etch is more aggressive and might even produce smoke when etching, so let it cool down before you use it. You can also make a weaker or stronger solution or use other proportions of copper sulphate and salt (I always use only approximate measures). It is also possible to etch without salt, but then the etchant will be less active.
You can also use it to etch zinc and steel (but not copper!).
The plates:
I use old offset plates which I get (for free) from print shops, they are pretty big and light and you can cut them easily with a scissor in all kinds of shapes. You can also buy aluminum plates in hardware stores.
Since the plates are really thin, before printing you should check that absolutely nothing sticks on the back, rests of varnish or even small grains, because this might create an imprint on the plate under the press that will stay and also show on the print.
Preparing the plates:
Cut the plates with a cutter or scissors into the shape you want. I like to round the edges a bit because since it is really thin, the edges are sharp and can sting you while handling it.
Then sandpaper them (I use first number 800 and then 1200).
Then degrease them with calcium carbonate (some also use soy sauce but I never tried) and water (cotton cloth works best), repeat once or twice and finish with alcohol (aluminum is pretty greasy compared to other metals, which means it gives the impression of being impossible to be degreased completely).
Don’t expect a shiny plate, it will look more dull than before now.
You don’t need to cover the back of the plates, they won’t etch unless they are scratched, but I mostly ignore small scratches.
Etching times and results:
It etches really fast – with the proportions in the recipe above, you etch a line in about 4 minutes and get a light grey tone in 10 seconds and a deep black in about 4 minutes. The lines are not as crisp as with copper or zinc, and since the etching times are much shorter and the etch is more erratic, I find it harder to play with different line thicknesses.
The mordant exhausts pretty fast compared to other acids, but it can be recycled (read more about it below)
While in the mordant, the plate gets covered very fast with copper sediments – removing the sediment regularly with a soft brush or feather or taking the plate out and washing it with water helps the etching process.
It’s recommendable to use fine grain copper sulphate and fine grain salt because it will dissolve better, although if you use coarse salt you can get interesting textures in the aquatint.
Etching lines:
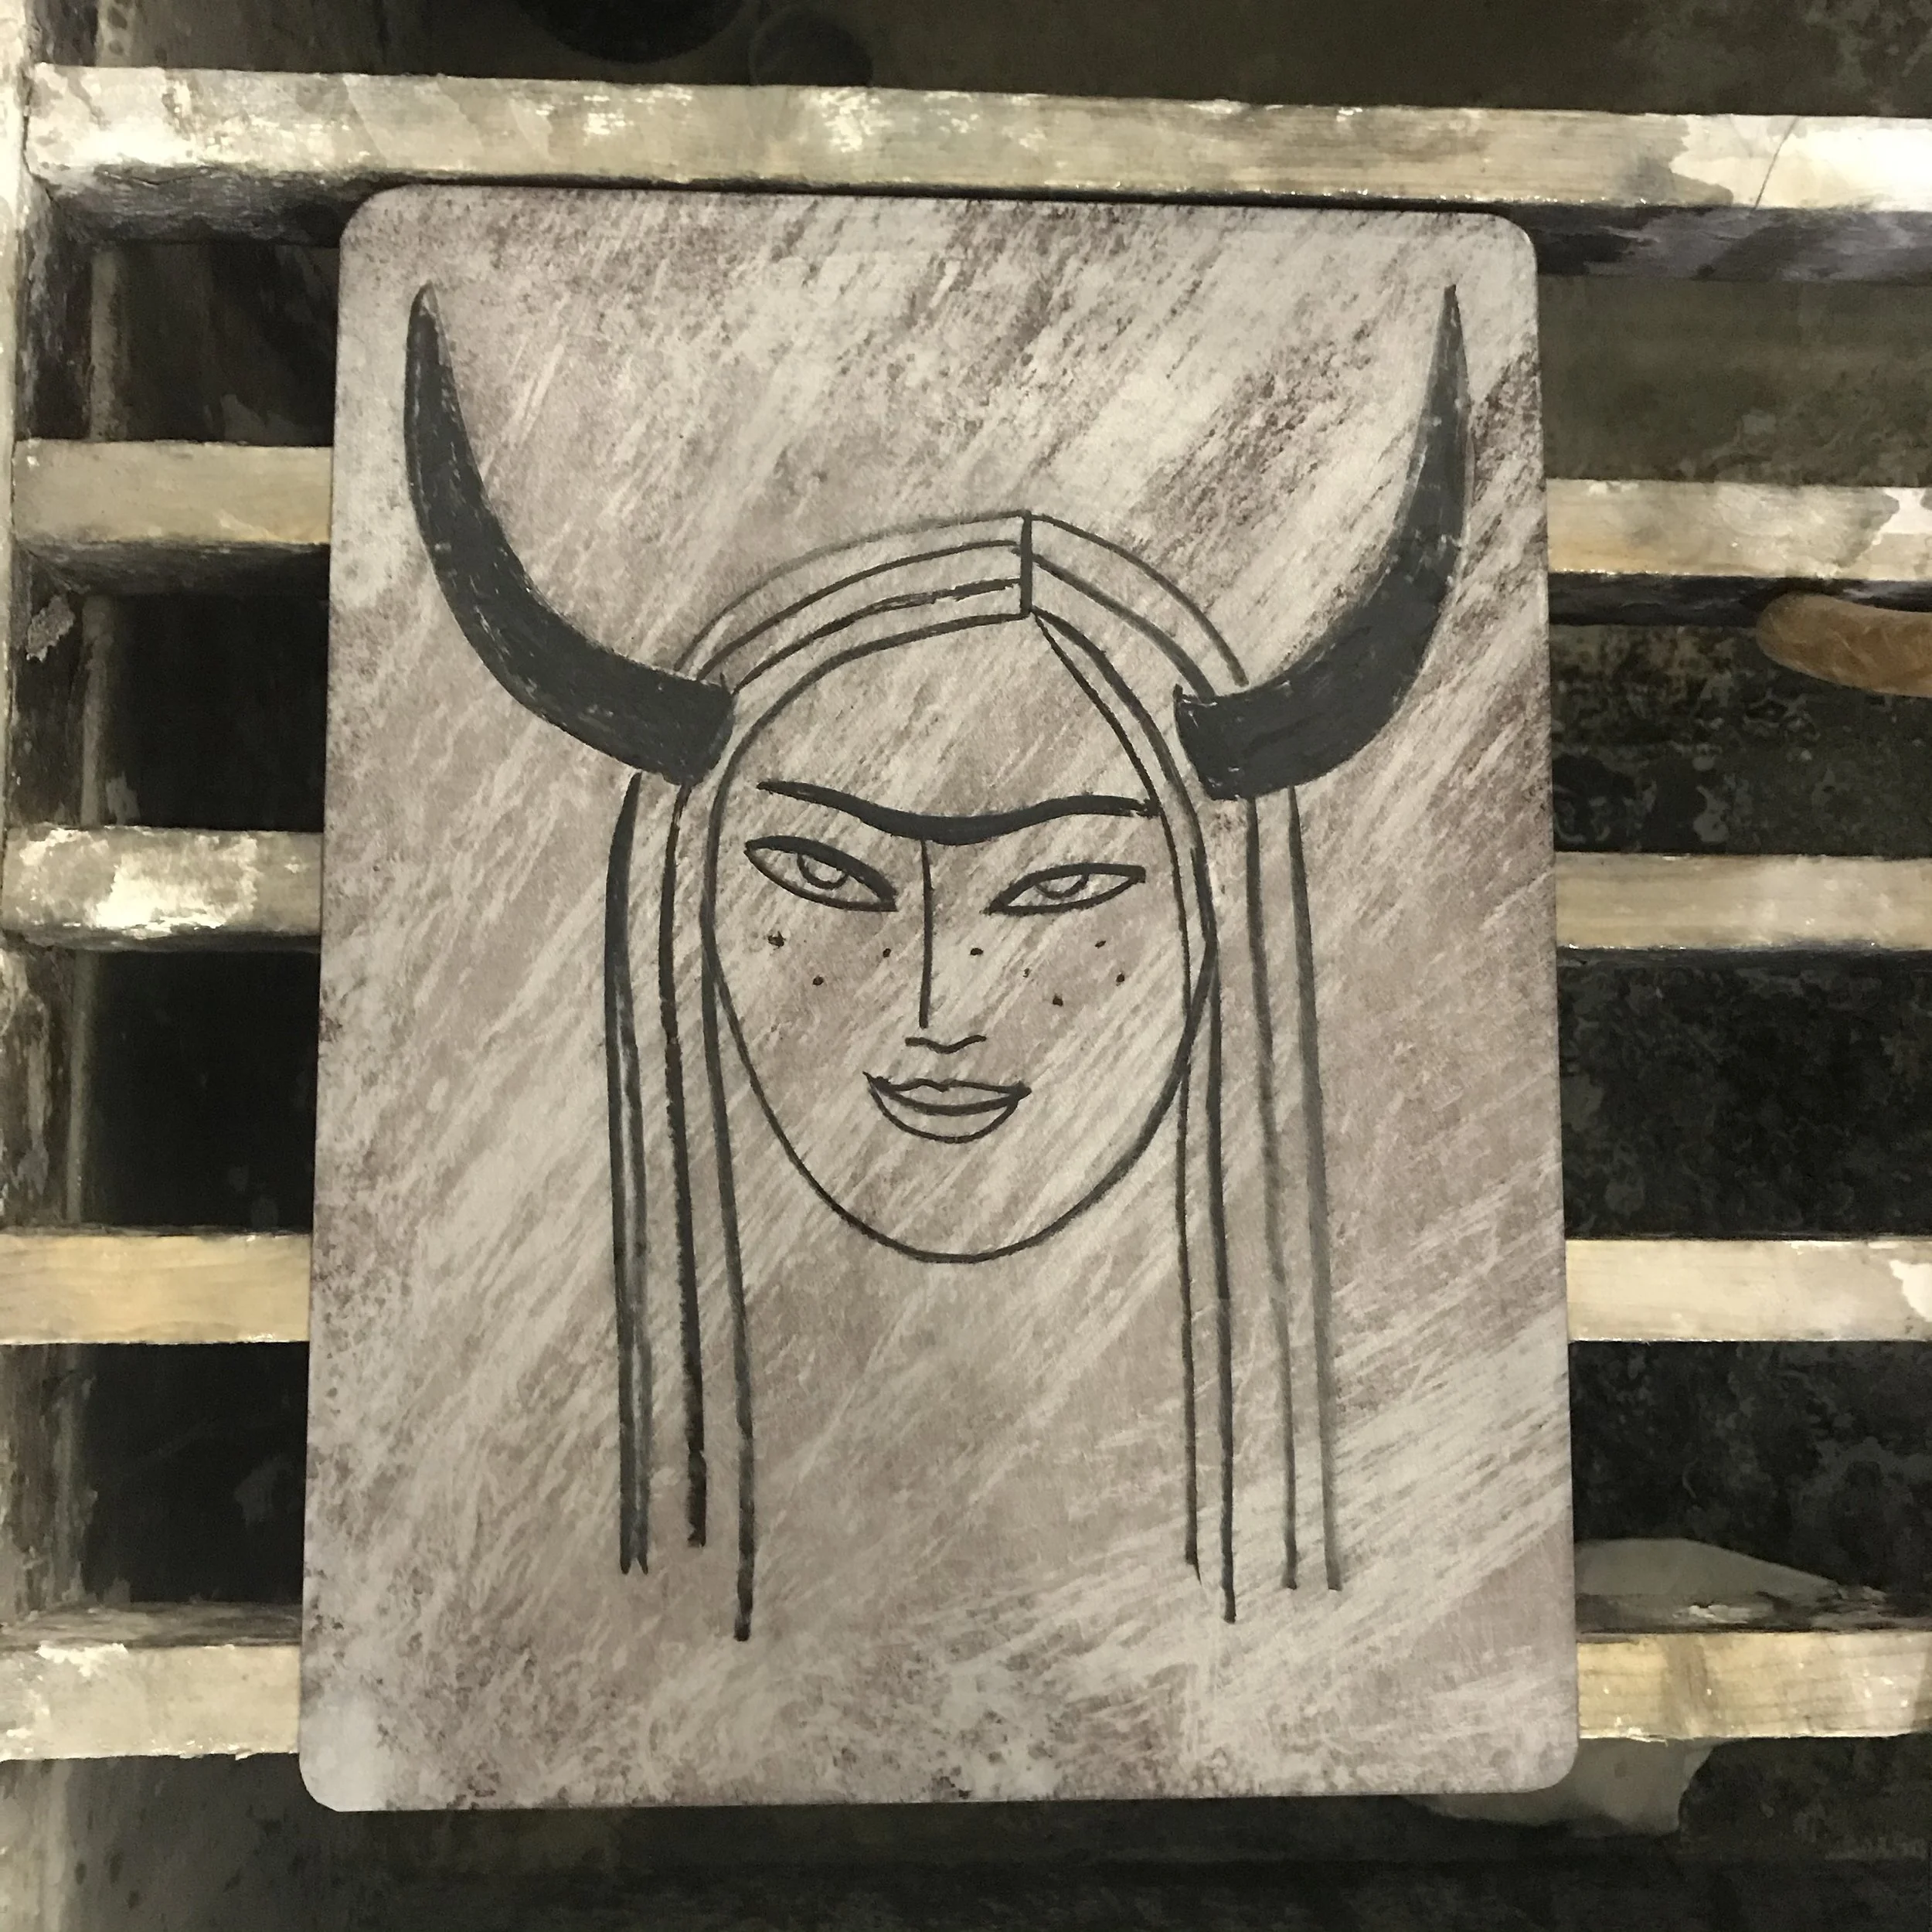
To etch lines, I use Charbonnel Ultra flex. Be sure do draw your lines firmly, slightly scratching the metal. The lines are usually not as consistent as with copper or zinc.
Aquatint:
You don’t need to resinate the plate before aquatinting it – you just put the plate (clean and degreased again after etching the lines) into the mordant, and it “self-aquatints”.
The aquatint is not as fine, flat and flawless as in zinc or copper, it’s much rougher and more irregular – which can be a desired effect. I like it!
Aluminum is also softer than above metals, so the aquatint wears out faster, but generally gives good results at least up to 20,30 prints.
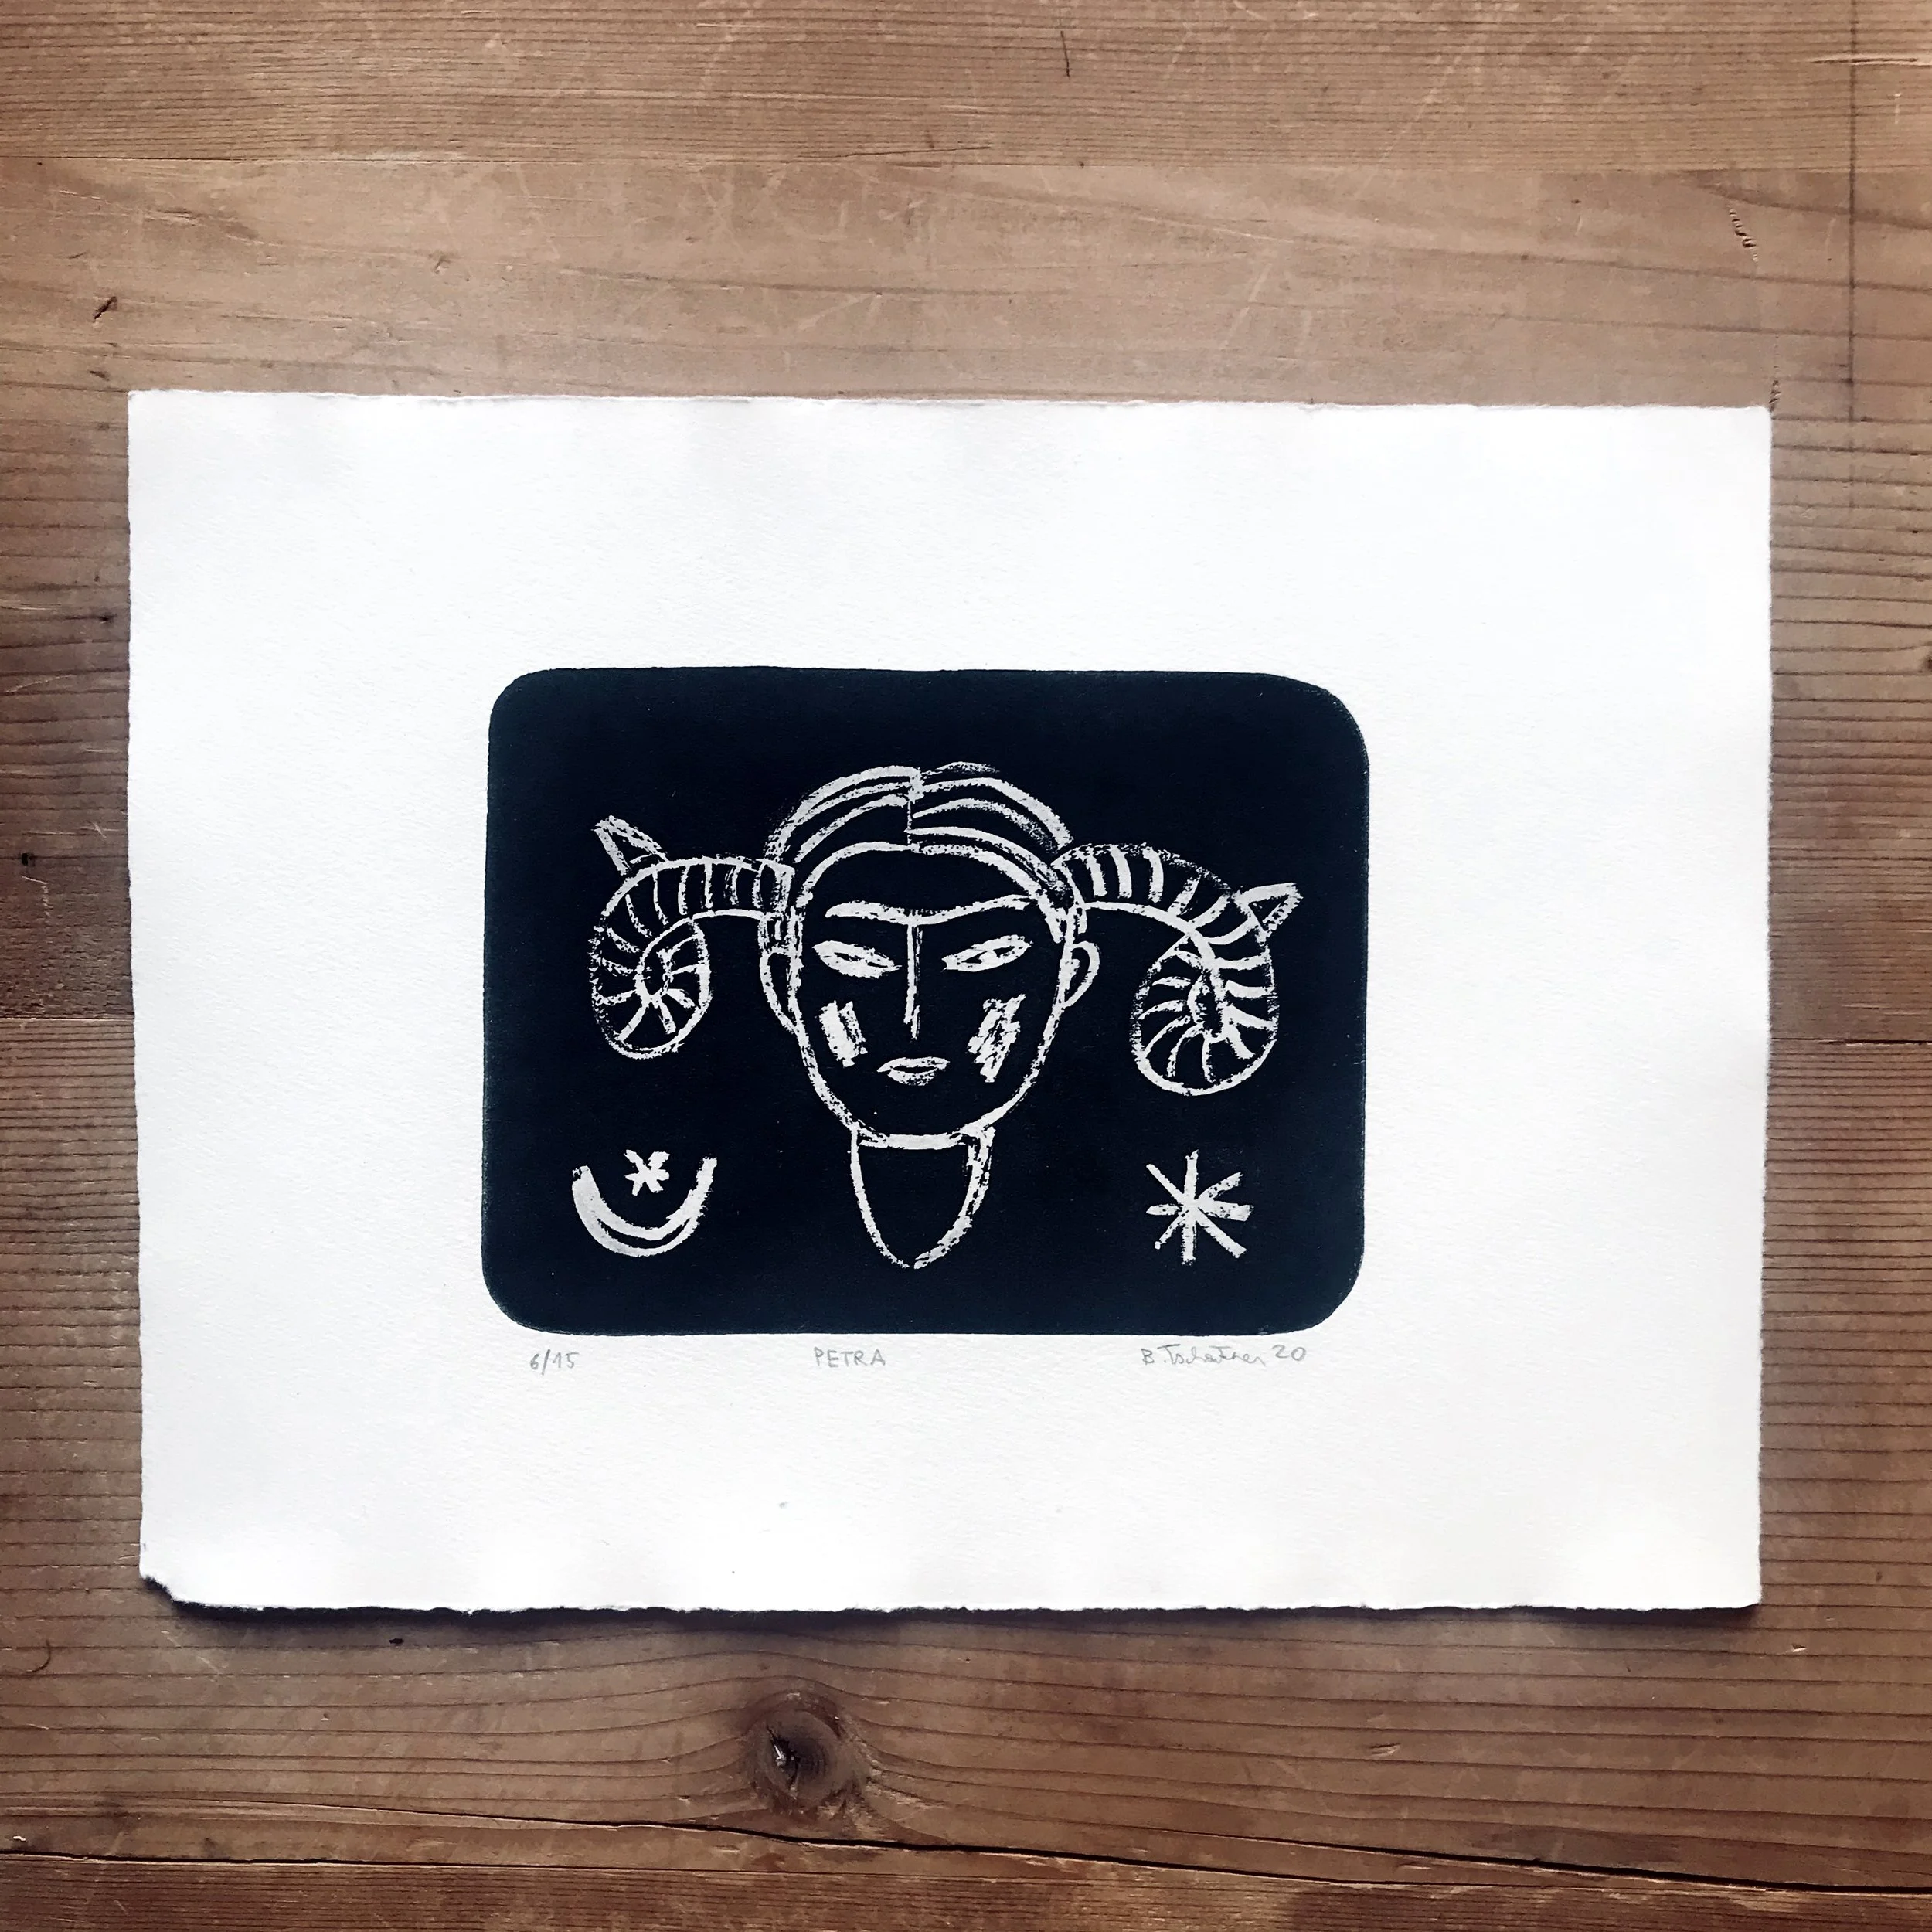
You can cover the white areas with varnish, or with lithograpic crayons for a more irregular and painterly result. Drawing on the plate with a lithographic crayon and then etching it gives a lovely white line on black background effect.
Inking and cleaning:
Because aluminum is so soft and feels quite greasy compared to other metals, the ink really sticks on it and it takes a long time to clean it, so I add around 10% of softener (pomada suavizante in Spanish) to the ink (I use Charbonnel). This makes it much easier and faster to clean the plate and also makes the texture of the aquatint a lot more even and finer – softener really makes a huge difference in the printing process and result and I never print without it.
I clean the plate with tarlatan, newspaper and tissue paper. After printing, I clean my plates rubbing them with a mixture of sunflower oil and vinegar, followed by alcohol, but of course you can also use turpentine. To clean my hands (I always use gloves but I still get my hands dirty) I use coffee powder – it’s the most efficient cleaner I know (oil mixed with soap works fine too) and it leaves your hands nice and soft.
Recycling:
As the solution gets weaker, it turns from the beautiful clear blue into a muddy green. You then can collect and store it in containers where after a month or so, it will turn into blue again – then you can use it again! Read more about how recycling works in the first link below.
Digging deEper:
For more information on the chemical and the recycling process and safety precautions visit:
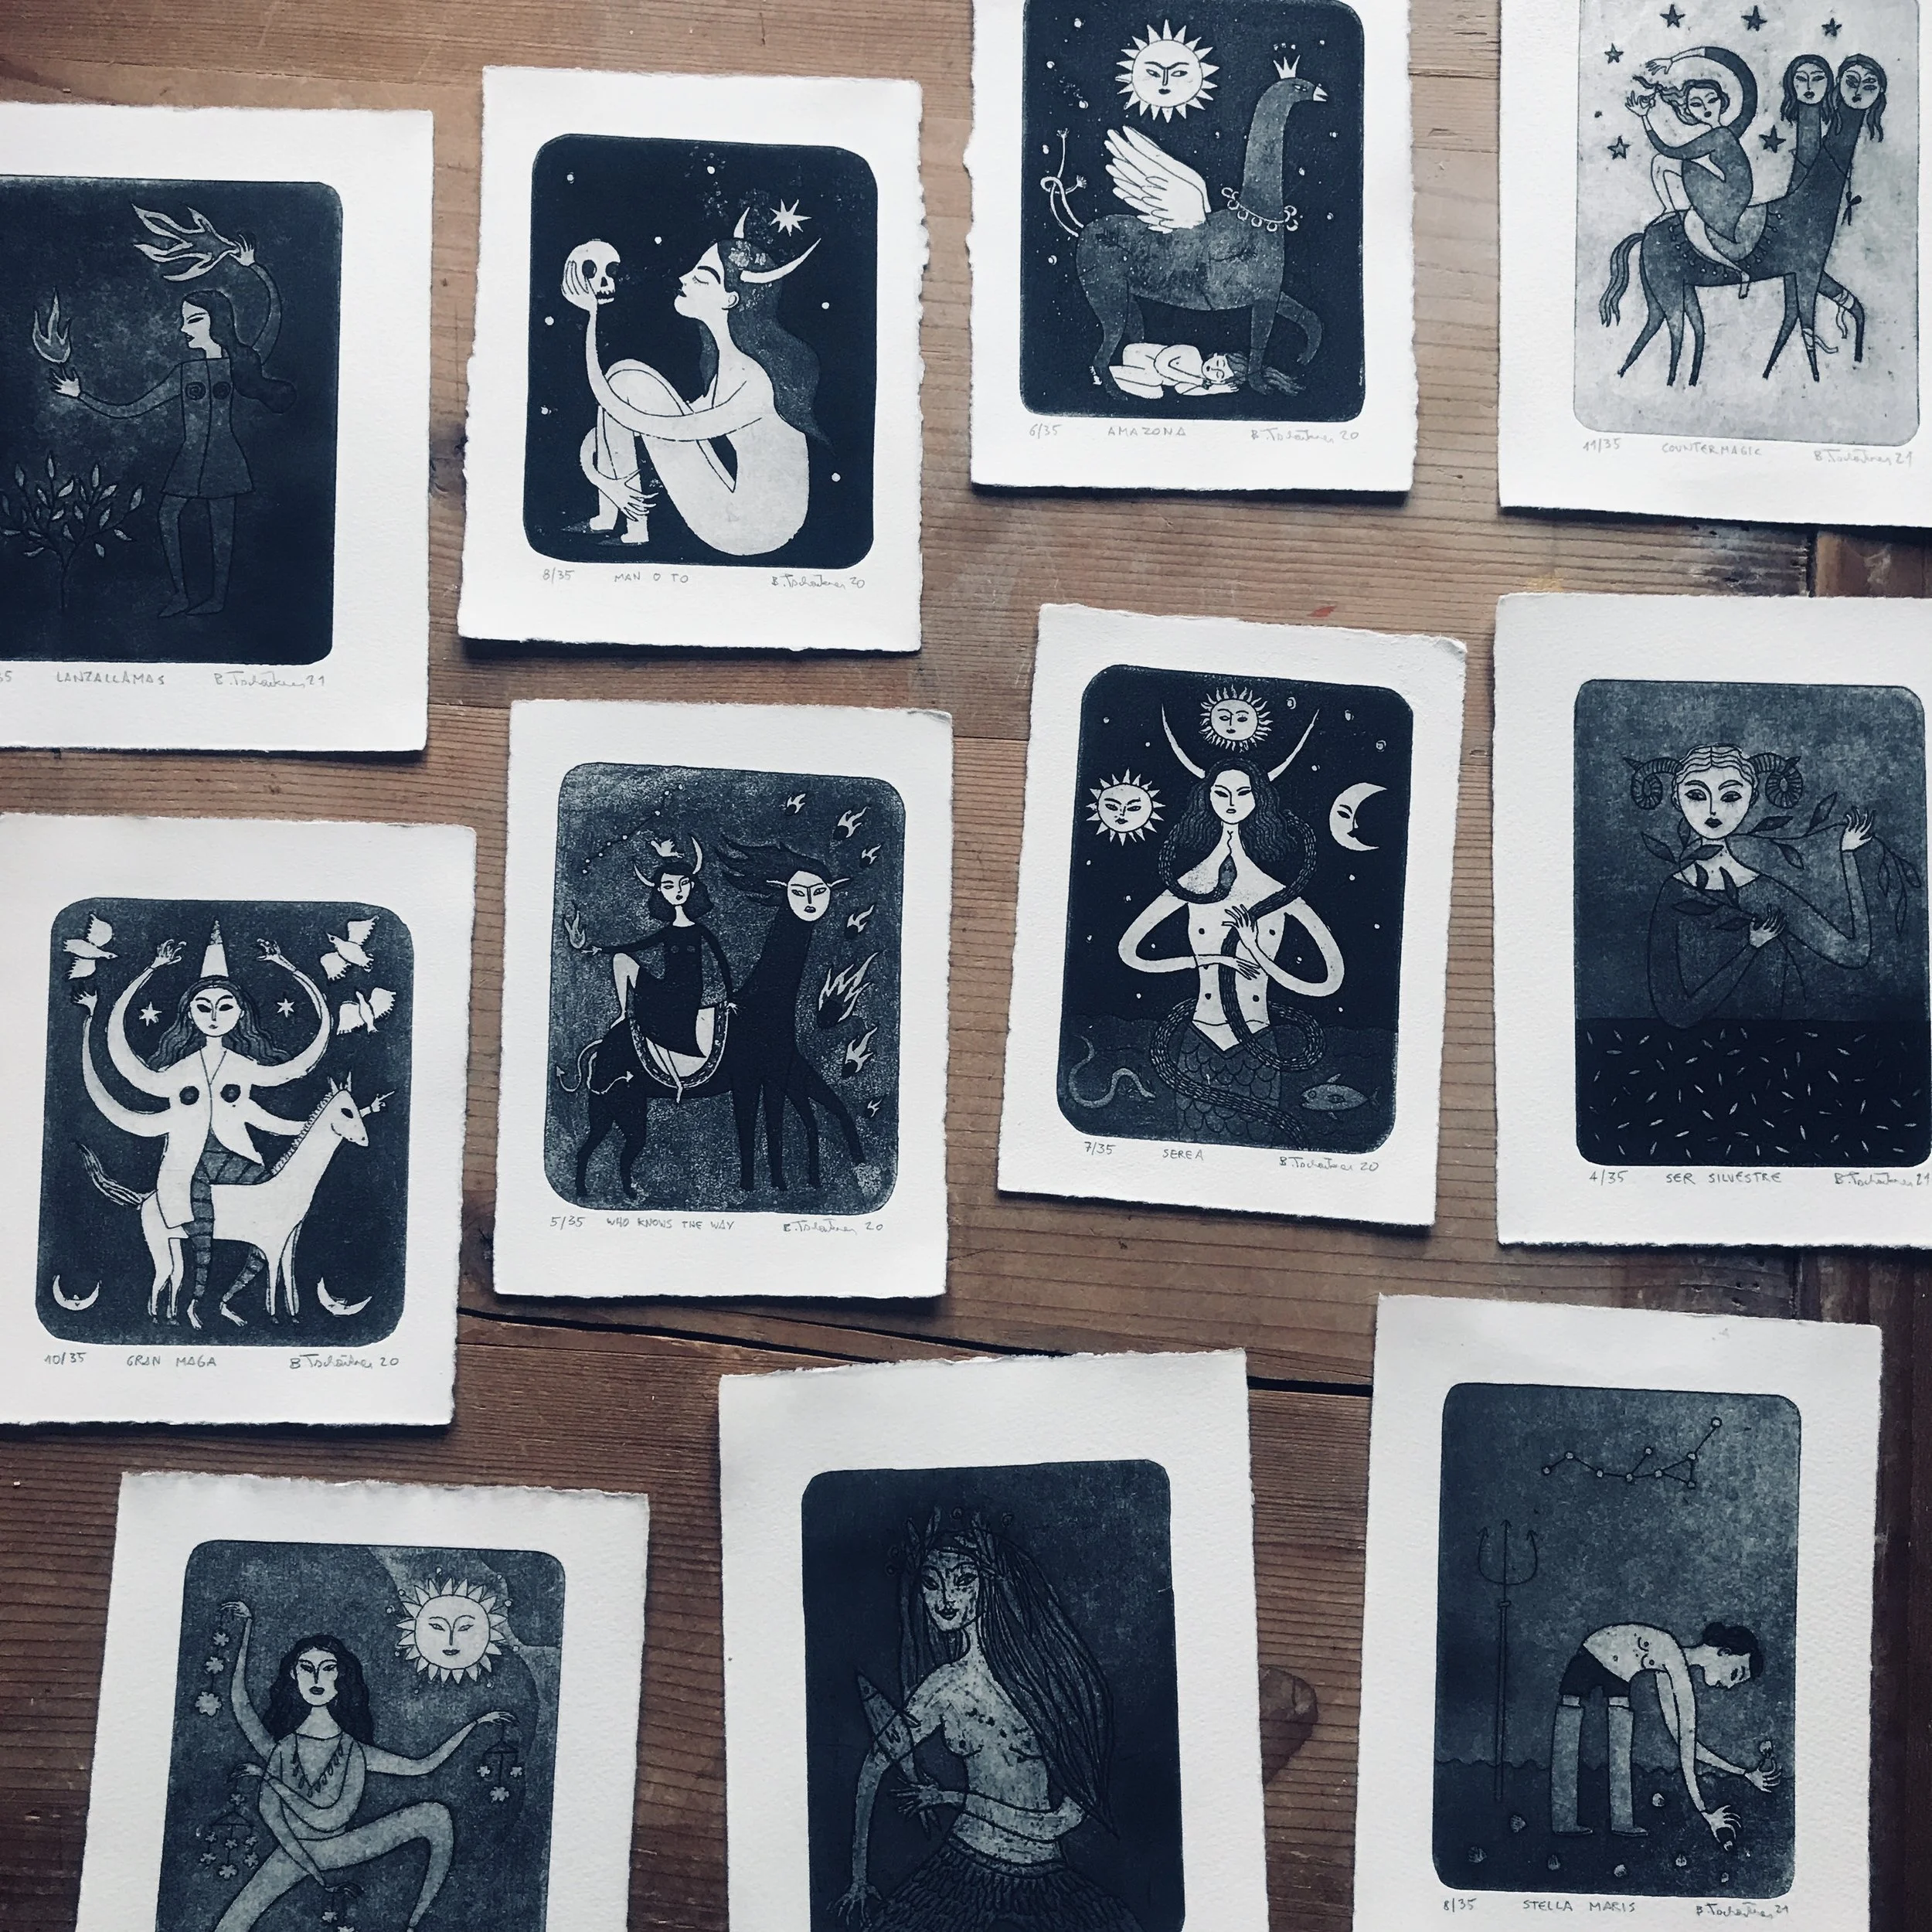
have a look at my aluminum etchings: